Freedom uses the native Shopify Search & Discovery app to power its filtering system. This ensures your filters are standard-compliant and easy to manage directly from your Shopify Admin.
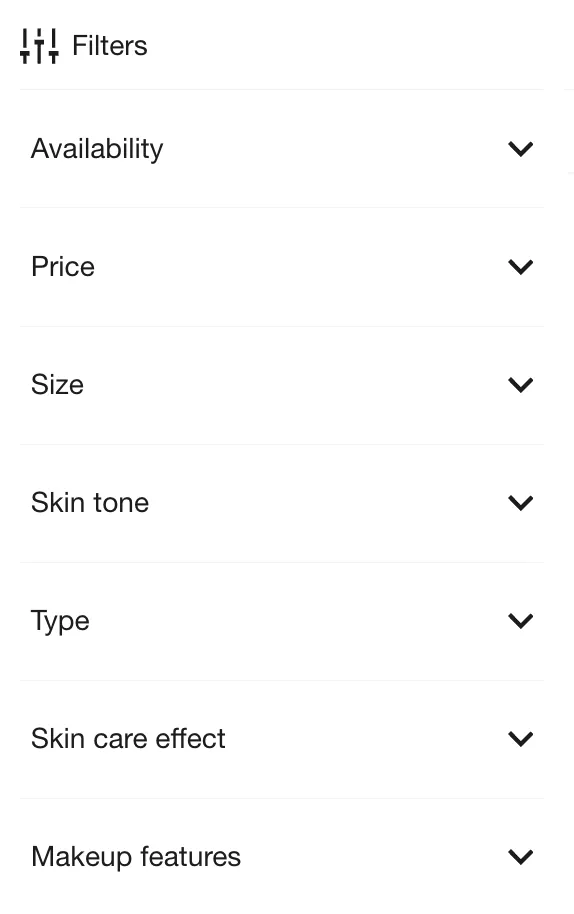
Setting up Filters
Before configuring the theme settings, you must define which filters should be available.
-
Install the free Shopify Search & Discovery app.
-
Open the app and navigate to Filters.
-
Add your desired filter criteria (e.g., Availability, Price, Product Options like Size or Color).
Once your filters are set up in the app, they will automatically appear in the theme's Product grid section.
Layout & Behavior
By default, filters are displayed in a column to the left of the products. If you prefer a cleaner look that maximizes space for product images, you can check Show filters in drawer. This moves the filters into a slide-out panel, accessible via a "Filter" button in the toolbar, matching the mobile experience.
Additional Settings:
-
Expand by default: If checked, filter groups (like "Size" or "Brand") will be opened by default. If unchecked, customers must click to expand them.
-
Sticky on scroll: (Applies only when the drawer is disabled) Ensures the filter column remains visible on the screen as the customer scrolls down the list of products.
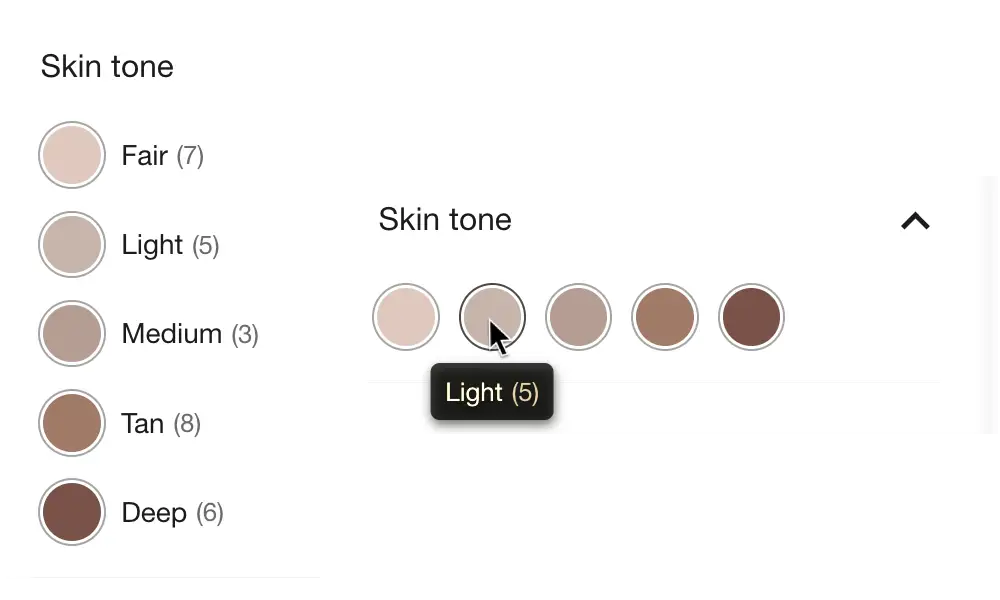
Visual Configuration
Swatches Style
If you have configured visual filters (like Color) in the Search & Discovery app, you can control their display style in the section settings:
-
Labeled: Displays the color swatch (circle) alongside the text label (e.g., "Red", "Blue").
-
Compact: Displays only the color swatch. The color name appears in a tooltip when hovering over the option.
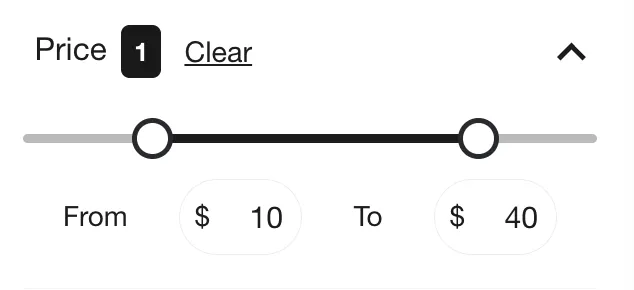
Price Range
The theme automatically renders the Price filter as a dual-slider input, allowing customers to drag handles to define a minimum and maximum price range.