By default, Shopify's native "Vendor" field is a system entity that stays the same across all languages. This means if you have a multi-language store, you cannot translate the brand/vendor name using standard translation apps.
The Freedom theme solves this by allowing you to swap the native Vendor source with a translatable Metafield.
This tutorial uses the metafield name custom.vendor, which is configured in Theme settings > Vendor by default.
Step 1: Create the Vendor Metafield
You can skip points 1 through 3 by going to this link directly. It will open a page that lets you create a new Metaobject definition immediately.
-
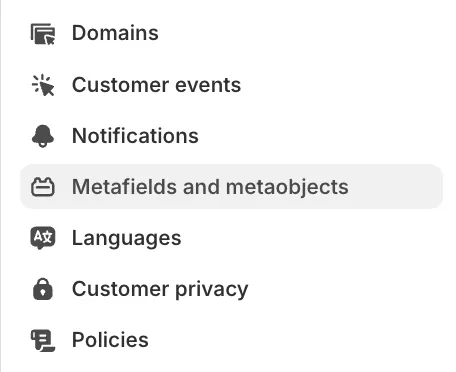
From your Shopify Admin, go to Settings > Metafields and metaobjects.
-
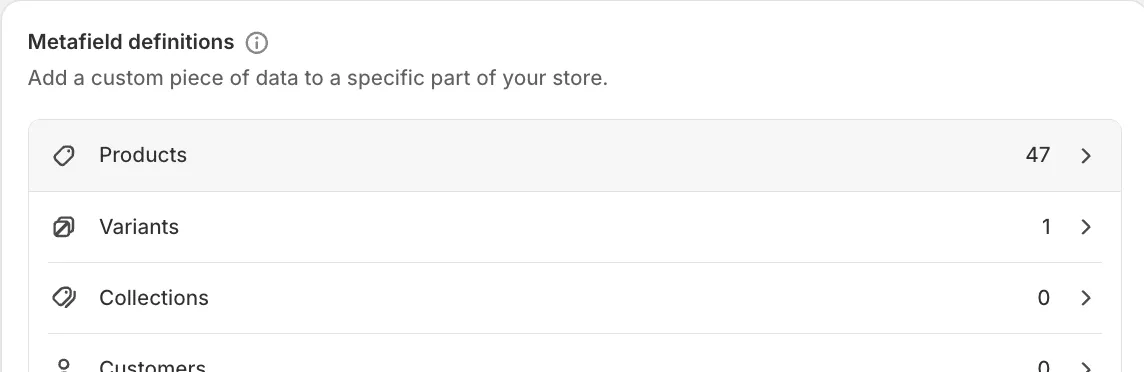
Click Products.
-
Click Add definition.

-
Name it Vendor. Keep the namespace and key:
custom.vendor. -
Click Select type and choose Single line text.
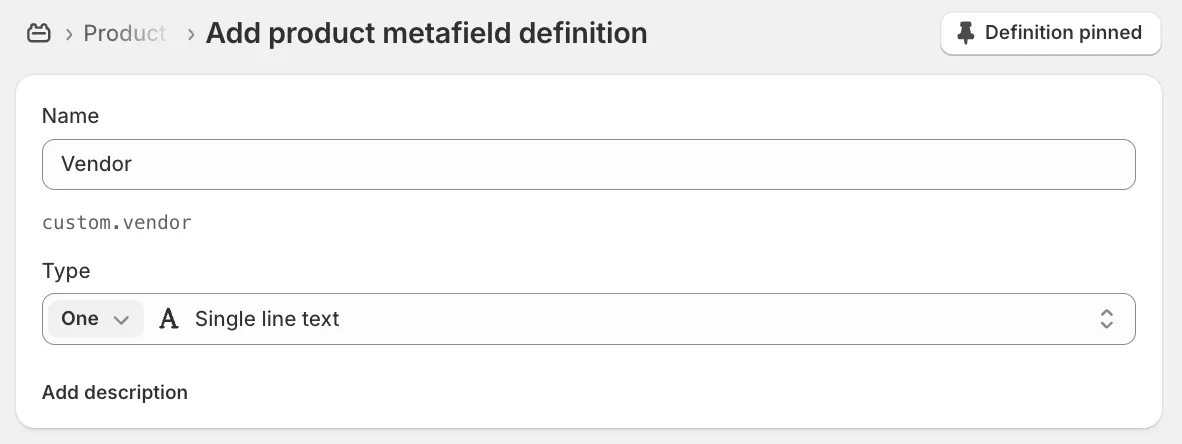
Keep the remaining settings at their default values.
-
Save.
Step 2: Assign and Translate
-
Go to a Product in your admin.
-
Scroll down to the Metafields section.
-
In the Vendor field you just created, type the brand name.

-
Use Shopify's Translate & Adapt app (or your preferred translation app) to localize this specific metafield into your other languages.
Step 3: Configure Theme Settings
To tell the theme to use this new metafield instead of the locked system field:
-
Open the Theme Editor.
-
Go to Theme Settings.
-
Locate the Vendor category.
-
Change Vendor source from Native to Metafield.
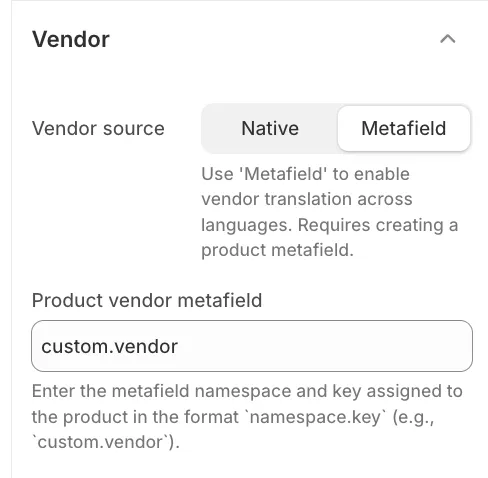
The Product vendor metafield should already be set tocustom.vendorby default. Verify that it matches the key you created in Step 1.
Now, wherever the vendor is displayed (Product Cards, Product Information, Cart Drawer), the theme will pull the text from your translatable metafield.