The Freedom theme allows you to display eye-catching badges on your product cards.

"On Sale" Badge

The theme automatically detects when a product is on sale.
A product will display the "Sale" badge if:
-
The product is Available (in stock).
-
The Compare-at price is higher than the current Price.
Custom Badges
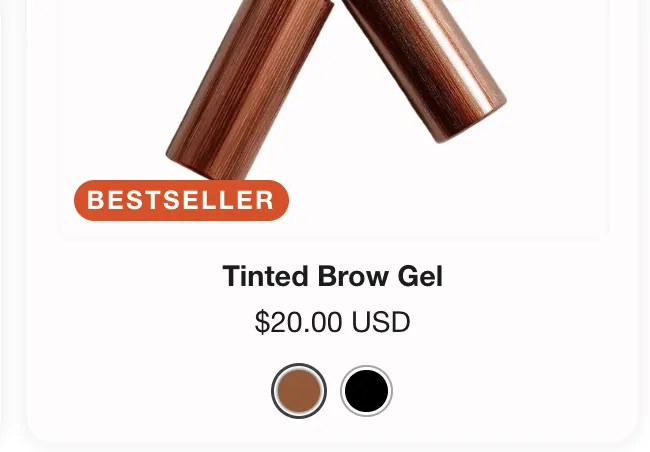
For badges like "Staff Pick", "New Arrival", or "Bestseller", Freedom uses Shopify Metaobjects. This approach allows you to define a badge once (with its name and specific color) and reuse it across multiple products.
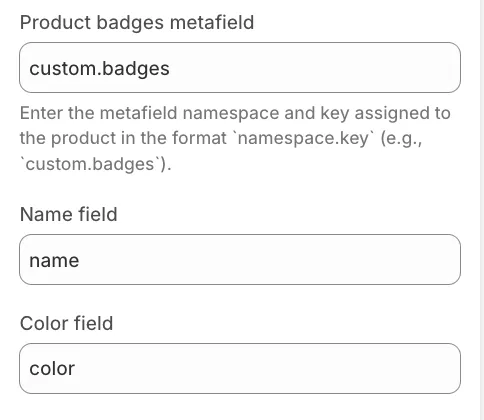
Metafield names can be customized in Theme settings > Product badges, but this tutorial uses the default configuration.
Step 1: Create the Metaobject Definition
You can skip instructions 1 through 3 by going to this link directly. It will open a page that lets you create a new Metaobject definition immediately.
-
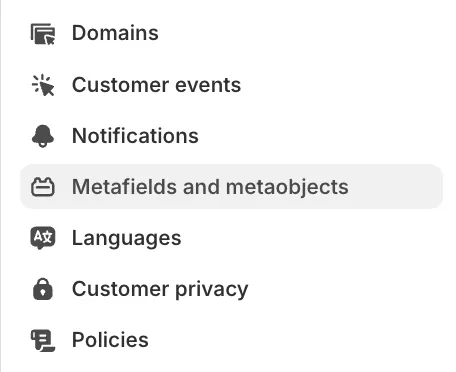
From your Shopify Admin, go to Settings > Custom data (or Metafields and metaobjects).
-
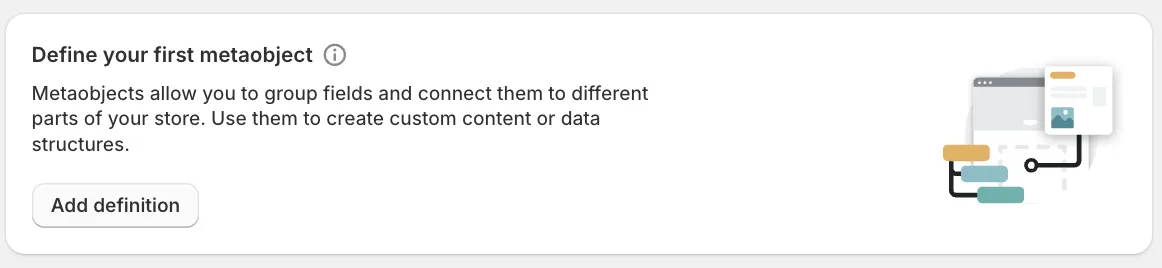
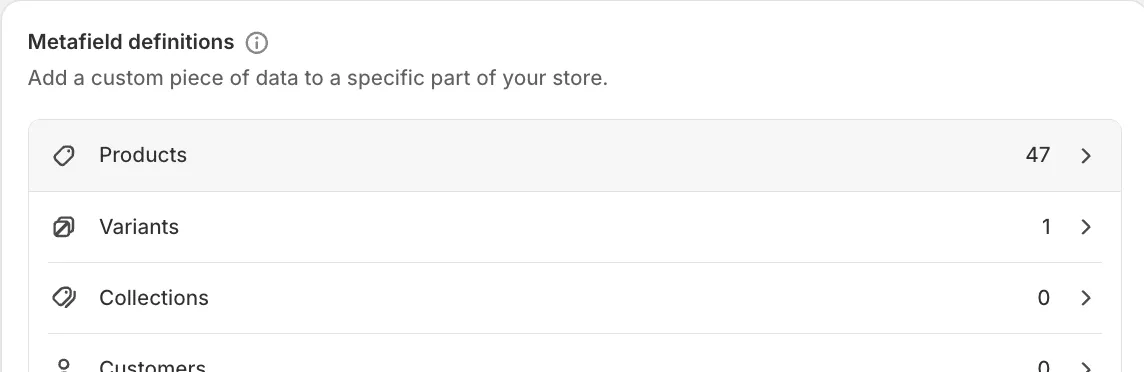
Scroll down to Metaobject definitions and click Add definition.

If it's your first Metaobject definition, it will look like this:
-
Name it Badge.
-
Click Add field and create the following exact fields:
-
Name(Type: Single line text) -
Color(Type: Color)
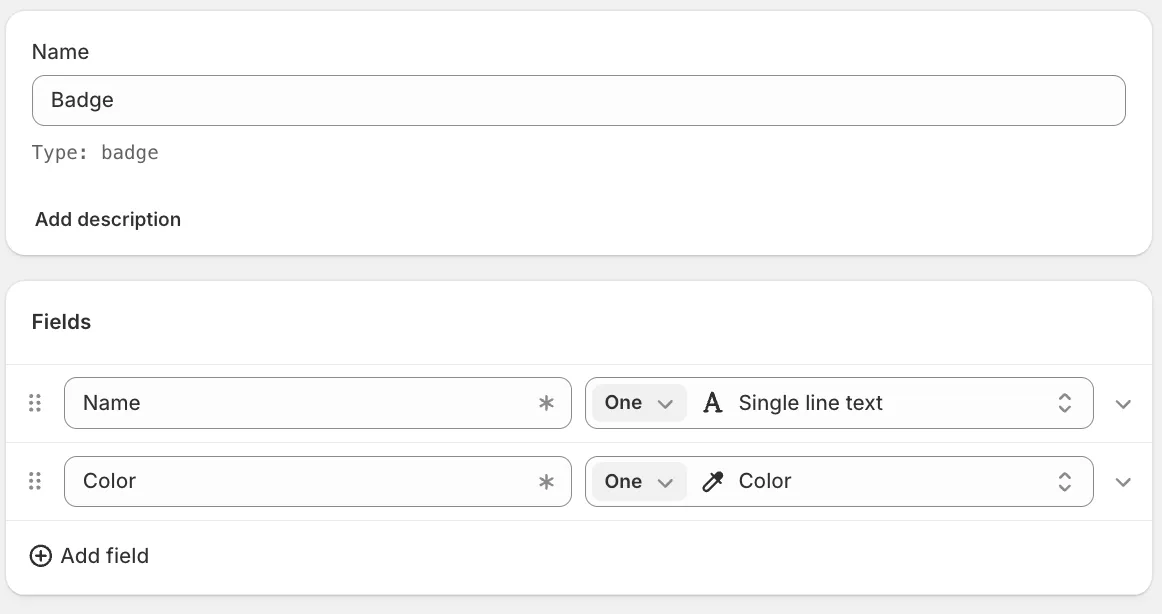
Leave the rest of the settings as they are by default.
-
-
Save the definition.
Step 2: Create the Product Metafield
Now you need to link this new Metaobject to your products.
-
Go back to Settings > Custom data.
-
Click Products.
-
Then click Add definition.

-
Name it Badges. Keep the namespace and key:
custom.badges.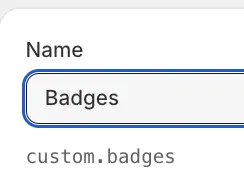
-
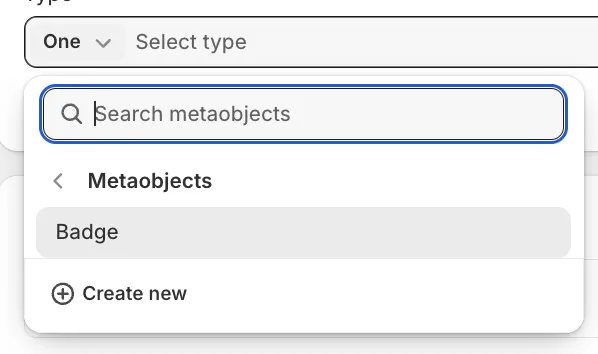
Change the type by selecting Metaobject...
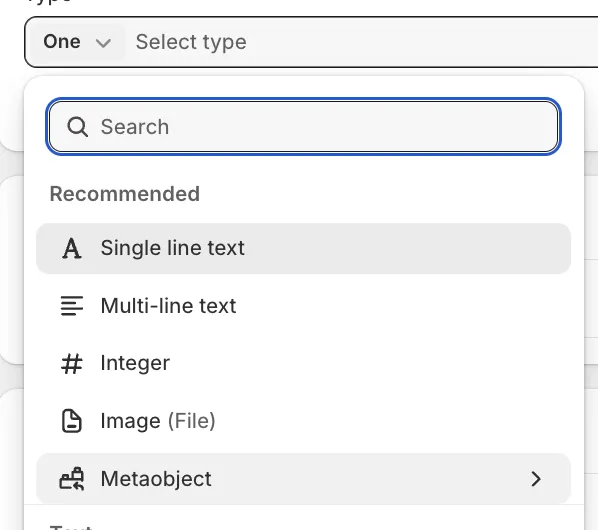
...and then Badge.
-
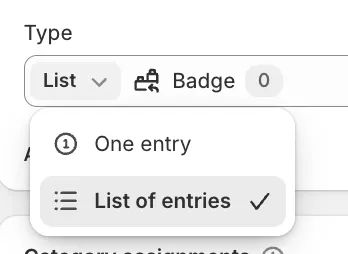
Change One entry to List of entries (This allows a product to have multiple badges).
Keep the remaining settings at their default values.
-
Save.
Step 3: Creating and Assigning Badges
-
Now, go to Products and click on a product.
-
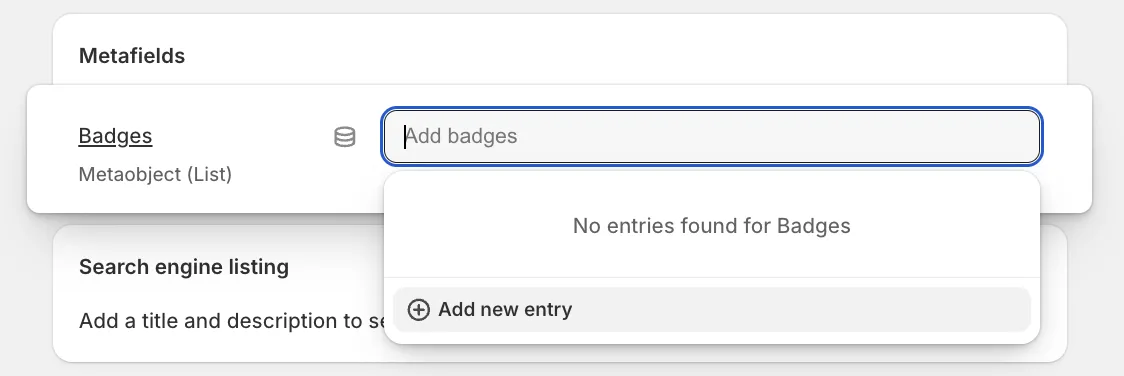
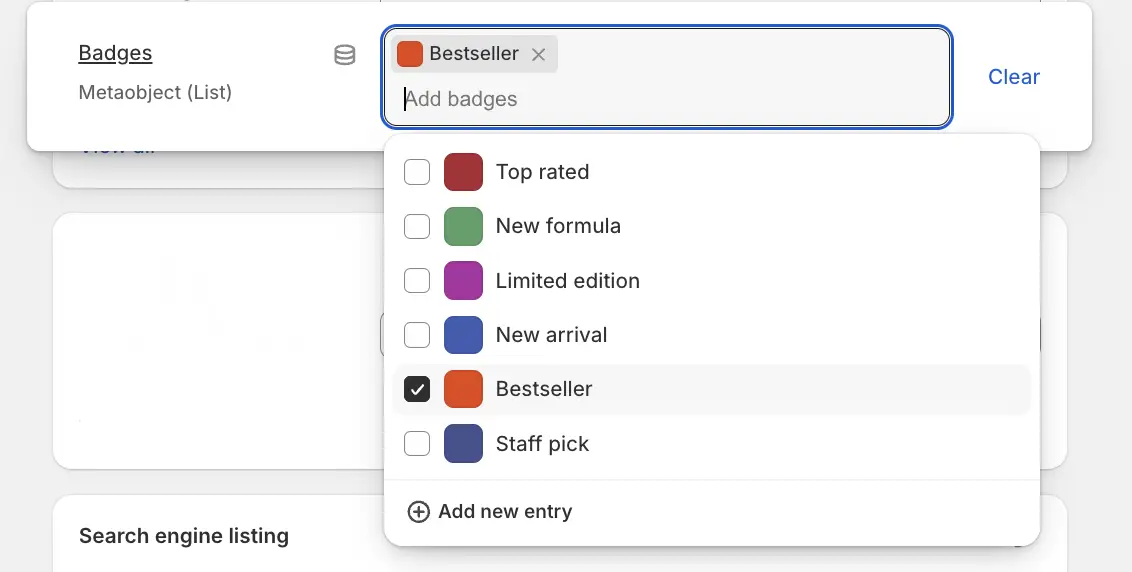
Scroll down to Metafields. You will see the Badges field.
-
To add a new badge, click the text field and then Add new entry.
Fill in the Name (e.g., "Bestseller") and pick a Color (e.g., #E64410).
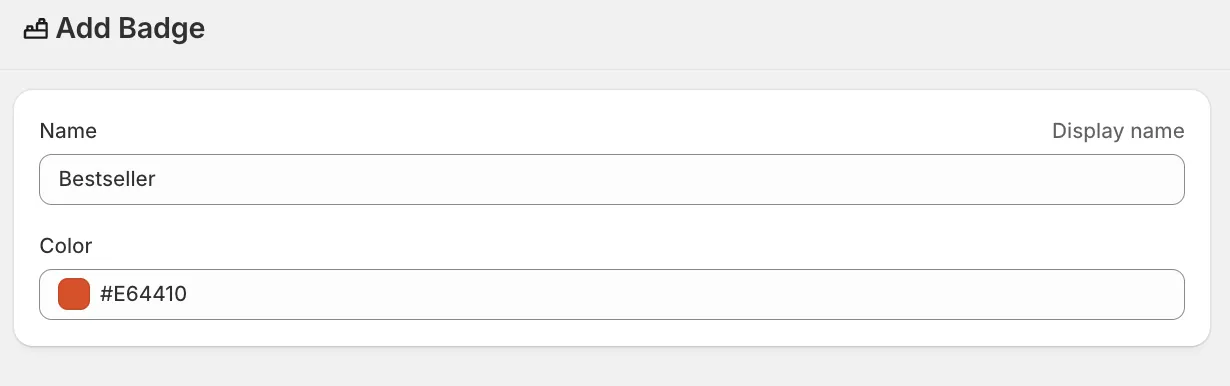
Then Save. Repeat this for all the unique badges you need. You have to create each badge only once.
-
Once you create the badge, you can easily assign it to or remove it from any product.
Visual Style
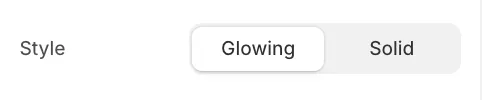
In the block settings (or global Theme Settings > Product badges), you can choose the Style:
-
Glowing: A modern effect where the text glows with the chosen color against a background.
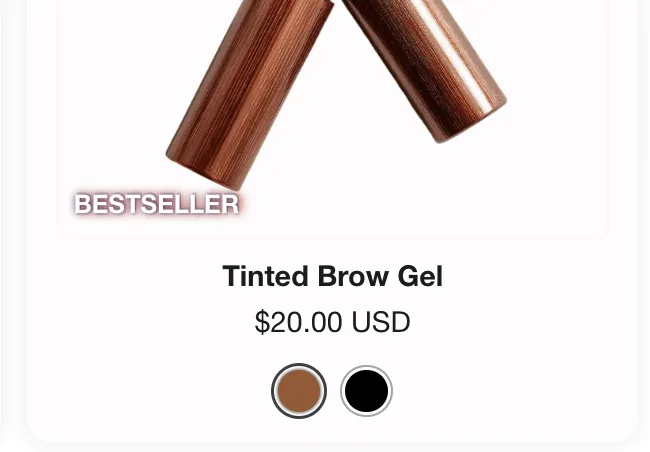
-
Solid: A standard badge with a solid background color.